-
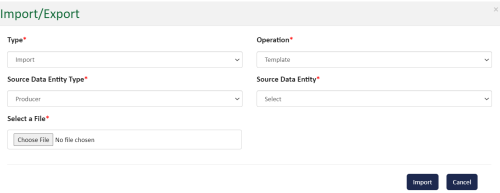
Use the  button to execute the export action after all required fields have been populated.
-
Use the  button to exit the current screen and return to the prior window.
-
Use the  button to execute the import action after all required fields have been populated.
-
In the main Import/Export screen, rows showing requested Import/Export actions display:

-
The screen display includes the following information:
-
Type - Identifies whether an Import or Export was executed.
-
Operation - Identifies whether the action was performed relative to Master Data or Template information.
-
File Name - In the case of an “Import” action, this is the file that was imported.
-
Template - In the case of a Template Export, this is the name of the Template that was exported.
-
Status - This identifies the status of the request. If it was request was initiated but not complete, completed, or failed; that information will display here.
-
CreatedBy - This is the system user that submitted the Import/Export request.
-
CreatedDate- This is the system date on which the request was submitted.
-
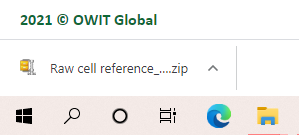
At the end of each Import/Export row, there is an  button. When selected, the option Download will be presented. When selected, the action to download the Import or Export (depending on which type was selected) will be automatically initiated, and the file will appear automatically in the lower left-hand corner of your browser window:

 Click this icon to refresh the screen.
 Click this icon to filter screen results
 Click this icon to download the matrix of files and statuses shown on screen to an Excel file.
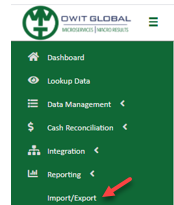
![]() on the OWIT Global Data Management screen to reveal the menu.
on the OWIT Global Data Management screen to reveal the menu.


 button to execute the export action after all required fields have been populated.
 button to exit the current screen and return to the prior window.
 button to execute the import action after all required fields have been populated.
 button. When selected, the option Download will be presented. When selected, the action to download the Import or Export (depending on which type was selected) will be automatically initiated, and the file will appear automatically in the lower left-hand corner of your browser window:
 Click this icon to refresh the screen.
 Click this icon to filter screen results
 Click this icon to download the matrix of files and statuses shown on screen to an Excel file.